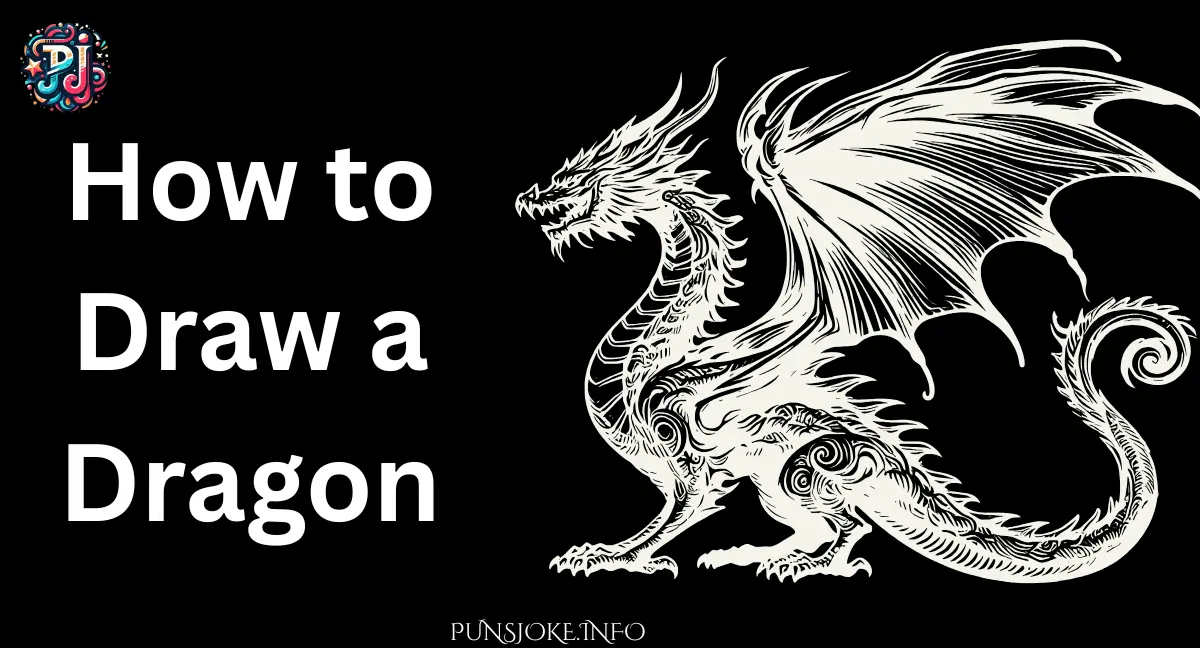
There’s something magical about learning how to draw a dragon. These legendary creatures have fascinated people for centuries, from old myths to modern movies. A good drawing blends imagination with structure, and once you learn the right steps, creating your own fierce or friendly dragon becomes simple. This tutorial will guide you from the very basics to advanced details. Whether you’re just getting started or you’re already proud of your sketching skills, you’ll find techniques here to improve your art and bring your dragons to life.
This blog post also includes a disclaimer for transparency. Some of the drawing supplies mentioned may include affiliate links, which means purchases may earn a small commission at no extra cost to you. These tools, from Ohuhu Honolulu markers to Derwent Chromaflow colored pencils, are recommended because they give great value, strong color payoff, and are budget-friendly alternatives to more expensive brands like Copic.
Essential Materials About How to Draw a Dragon
Before you jump into sketching, make sure you have the right drawing supplies. A simple HB pencil, a good eraser, and Canson Illustration Manga Paper will get you going. For more detailed work, artists often rely on Ohuhu Honolulu markers. These alcohol markers blend beautifully, offering smooth gradients with both brush tips and chisel ends. They come in colors like Sand White E280, Clay E300, Dark Suntan E110, Brown E310, Lime Green G220, Meadow G9, Cloud Blue PB9, Marine PB11, and Neutral Grey NG06. Pair them with Derwent Chromaflow colored pencils in shades such as White 2400 and Black 2300 for fine details and highlights.
Here’s a quick reference table of useful materials:
| Material | Example | Purpose |
| HB pencil | Standard sketch pencil | For sketch and outline |
| Eraser | Soft white eraser | For corrections |
| Canson Paper | Manga Illustration | Smooth surface for detail |
| Ohuhu Honolulu Markers | Sand White, Clay Brown, Lime Green, Cloud Blue | Coloring, blending, shading |
| Derwent Chromaflow Pencils | White 2400, Black 2300 | Adding highlights and details |
Using these tools will make every step easier and help you create more realistic dragons with sharp details and smooth coloring.
Understanding Dragon Anatomy and Proportions
To create a convincing dragon, you need to understand its basic shape and anatomy. Think of the dragon as a mix of creatures you know: the spine and scales of a snake, the wings of a bat, and the claws of a lion. Start with a spinal line as the foundation. This line curves naturally, guiding the dragon’s tail, head, and body.
The wings follow a bone structure similar to bird or bat wings. They have diverging wing bones with a stretched membrane, making them look strong enough for flying. The claws and legs can be compared to reptiles or big cats, giving power and balance. Understanding these proportions helps prevent common mistakes like oversized tails or stiff wings.
Sketching the Basic Shapes of a Dragon
Every great drawing begins with a sketch. Start with simple basic shapes: circles for the head, ovals for the body, and lines for the spine and tail. Add a zig-zaggy spinal line to guide the flow of the creature. Place overlapping circles to show where the chest and hips will be. Sketch hockey stick shapes for the legs and curved lines for the arms.
By keeping your sketch loose, you’ll be able to adjust proportions later. Don’t focus on details yet. This stage is all about laying down a strong foundation that makes the tutorial easy-to-follow.
Drawing the Dragon’s Head and Facial Features
The head defines your dragon’s personality. Start with an oval for the skull, then add the nose, mouth, and jawline. Sketch the horns pointing backward like lightning bolts for a fierce look. The eye should sit just above the bottom back position of the head, giving it expression and depth.
Adding sharp teeth and a long snout makes the dragon look more dangerous, while rounded features create a softer, cartoon-like effect. The head is where imagination shines, so experiment with different horn shapes, snout lengths, and jaw angles.
Creating Realistic Dragon Eyes and Expressions
The eyes breathe life into your drawing. Position them carefully, using small sketch lines to guide placement. A narrow pupil creates a fierce glare, while a rounded pupil makes the dragon look friendly. Add details like eyelids and shading around the eye to show depth.
Use Derwent Chromaflow pencils to add white highlights that make the eyes sparkle. With proper shading in Neutral Grey and Black, your dragon’s eyes will look intense, pulling the viewer’s attention.
Adding Details to the Body, Wings and Tail
Once the structure is in place, add details like spikes along the spine, ridges across the back, and patterns across the tail. Draw overlapping scales with your fineliner black pen to make the skin look textured.
For the wings, sketch diverging wing bones and stretch the membrane between them. Add tiny spikes along the edges for extra drama. The tail can be smooth, but adding a sharp, pointy blade or fin makes it more powerful.
Shading and Texturing for a 3D Effect
Shading gives your dragon depth. Imagine a light source and add shading to the underside of the body, wings, and tail. Use alcohol markers like Clay Brown, Dark Suntan, or Neutral Grey for shadows. Blending colors like Cloud Blue or Marine can give a mystical touch to the dragon’s scales.
Adding texture through cross-hatching with your HB pencil or layering with colored pencils enhances realism. Highlight edges with White 2400 for a polished look.
Coloring Your Dragon: Tips and Techniques
Color brings your dragon to life. Try fiery blends of Dark Suntan, Brown, and Clay for a fierce design, or cooler tones like Cloud Blue, Marine, and Lime Green for a mystical dragon. Use alcohol markers first for strong color payoff, then layer with Chromaflow colored pencils to sharpen details.
Remember to color the underside of the dragon’s body, the horns, and spikes in lighter tones such as Sand White to create contrast. Blending creates gradients that make the dragon look three-dimensional and realistic.
Easy Dragon Drawing Ideas for Kids
Children love dragons, but they often need simple and easy-to-follow steps. A playful way to get kids started is to sketch a round head with big eyes, tiny wings, and a short tail. Think of cartoon-style dragons with short legs, rounded claws, and fewer details. A child’s dragon doesn’t need complex spikes or a long spinal line; instead, use smooth curved shapes.
Coloring for kids should also remain fun. Encourage them to use bright shades like Lime Green, Meadow, and Cloud Blue. Since kids may not have Ohuhu Honolulu markers or Derwent Chromaflow colored pencils, basic crayons or budget-friendly alcohol markers work perfectly. The goal isn’t perfection but making children feel proud of their drawing.
Advanced Dragon Drawing Styles (Realistic, Cartoon, Fantasy)
As you gain confidence, you can explore different artistic directions. A realistic dragon requires strong anatomy, careful shading, and details like spinal spikes, scales, and bone structure in the wings. This style works best with alcohol markers for smooth blending and colored pencils for sharp highlights.
A cartoon dragon, on the other hand, focuses more on personality. Exaggerated eyes, playful expressions, and simplified claws give it a lighter tone. You can experiment with bold outlines using a fineliner black pen and fill in with bright colors like Marine, Sand White, or Lime Green.
Finally, fantasy dragons allow complete freedom. You can create dragons with extra tails, glowing spikes, or massive wings shaped like lightning. Adding creative patterns, glowing edges, or even fire-breath effects makes the artwork stand out. Many advanced artists mix styles, blending realistic textures with fantasy shapes for a one-of-a-kind design.
Common Mistakes to Avoid When Drawing Dragons
Beginners often fall into the trap of misplacing proportions. A frequent error is giving the dragon very small wings compared to its body, which makes flying seem impossible. Another common mistake is drawing claws or legs that don’t match the dragon’s weight, causing the pose to look unbalanced.
Overcrowding your dragon with too many spikes or scales is another issue. While details are important, too much can overwhelm the design and confuse the outline. Lastly, many artists forget about the tail. A weak or stiff tail can ruin the sense of movement. Think of the tail as a flexible blade or snake-like extension that adds power and flow to the whole drawing.
Final Touches: Bringing Your Dragon to Life
Small details often make the biggest difference. Adding glowing highlights along the edges of the wings, a shimmer on the spine, or smoke curling from the mouth makes the dragon appear alive. Even subtle shading with Neutral Grey or Dark Suntan around the belly and legs adds depth.
Another trick is to place your dragon in action. Sketch it perched on rocks, flying through Cloud Blue skies, or guarding treasure. These final touches turn a static sketch into a storytelling piece of art. Many artists recommend finishing with a fineliner black to sharpen the outline before adding your last layer of coloring.
Practice Exercises to Improve Your Dragon Art
Consistent practice is the secret to mastering dragon art. Start by sketching only heads in different positions, experimenting with varied horns, eyes, and mouths. Next, focus on wings. Try drawing them spread wide, folded at the sides, or angled backward as if mid-flight. Another good exercise is creating quick sketches of tails with different endings: smooth, spiky, or with a sharp blade.
You can also set small challenges for yourself. For example, in one session, practice drawing only claws and legs, paying attention to how the upper body overlaps the lower arms and toes. In another, focus on shading exercises, practicing gradients with alcohol markers like Clay Brown or Cloud Blue. Each exercise builds skills that, when combined, improve your complete dragon drawings.
Conclusion
Learning how to draw a dragon takes patience, imagination, and the right tutorials. By starting with basic shapes, studying proportions, and gradually adding details, you can transform a simple sketch into a powerful, realistic, or even whimsical creature. With tools like Ohuhu Honolulu markers, Derwent Chromaflow colored pencils, and smooth Canson Manga Paper, your dragons will show strong color payoff, polished shading, and fine highlights that make them shine.
Mistakes are part of the process, but each one teaches valuable lessons. The more you practice, the more natural drawing spikes, wings, and tails will become. Whether you’re creating easy doodles for kids or advanced, detailed fantasy dragons, remember that every dragon tells a story. Stay creative, keep practicing, and soon you’ll be proud of every dragon you bring to life on paper.

Hi I am Kate Elise and I am the writer about most trending topics. So I hope you will enjoy to read my article.


