A gel manicure is loved for its shine, toughness, and ability to last for weeks without chipping. Unlike regular polish, which can start peeling in just a few days, gel stays glossy and perfect. That’s why people pay for a salon session—the results look smooth and polished. But there’s a catch: gel doesn’t come off easily. You can’t just grab remover and wipe it away. That’s because gel hardens into layers that cling to the nailbed, creating a long-lasting but tricky finish.
Removing gel the wrong way—like peeling it off—can leave your natural nail destroyed, thin, and rough. Some people even think the uneven, gritty look feels Derelict-chic, like a deconstructed manicure, but in truth it’s damaging. A proper removal method protects your nails and keeps them strong, so understanding how the process works is essential.
Best Methods for Remove Gel Nail Polish at Home
There are many safe ways to remove gel at home without running back to the salon. Each removal method uses different tools, but the goal is always the same: break down the gel layers without harming your fingernail. Some people choose the acetone soak, others prefer non-acetone products, while a few go for buffing or filing. In recent years, tools like soak-off clips and wraps have made the process easier and less messy.
If you want a professional-like finish, focus on patience rather than speed. Rushing can lead to flaking, scraping, and even damaged nails. The table below shows the main removal methods people use in the U.S., including what they require and how long they take.
| Removal Method | Supplies Needed | Time Required | Effectiveness | Best For |
| Acetone Soak | acetone, cotton rounds, aluminum foil, nail file | 20–30 minutes | Very effective | Most people with gel polish |
| Non-Acetone Options | Acetone-free remover, cotton balls, patience | 30–40 minutes | Moderate | Sensitive nails/skin |
| Soak-Off Clips/Wraps | Clips, cotton round, acetone | 20–25 minutes | High | Quick, clean removal |
| Buffing/Filing | gritty sand-papery nail file, buff block | 15–25 minutes | Moderate | Thin gel layers |
ALSO READ: Rose Captions for Instagram to Make Your Feed Bloom
Acetone Soak Method
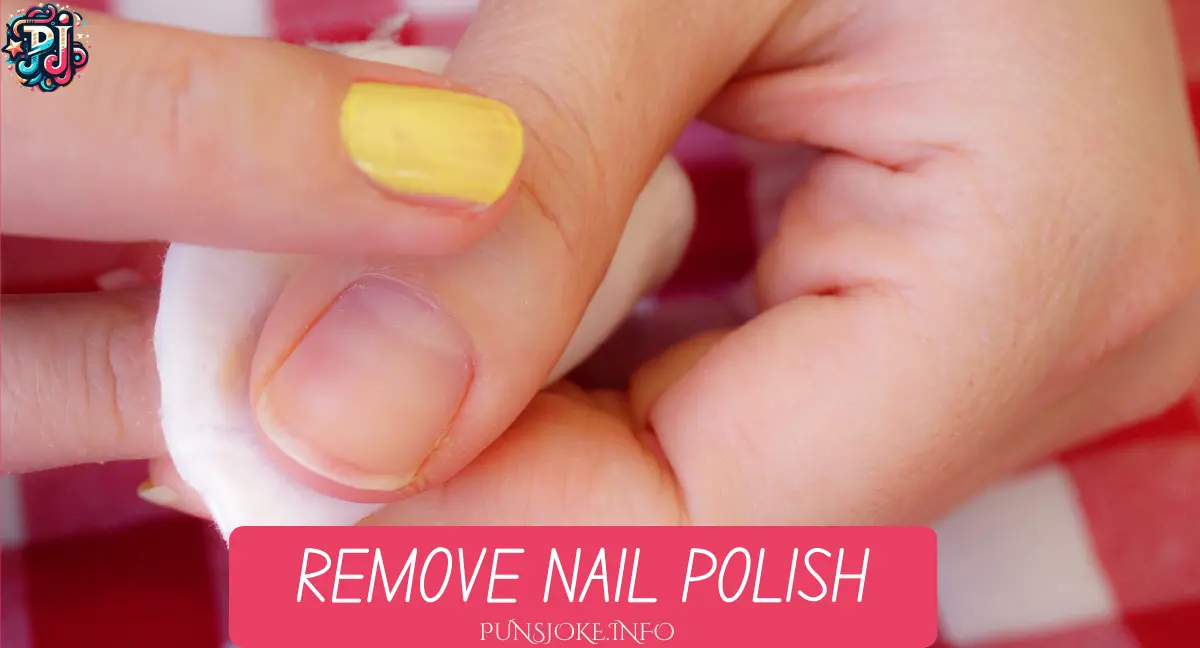
The most common way to remove gel is with pure acetone, the same production chemical you’d find in a salon. It works quickly but must be used with care. First, use a nail file to remove the shiny layer of polish, turning the surface from glossy to matte and sandy. This lets the acetone absorb into the gel. Next, place cotton balls or a cotton round soaked in acetone over each finger, then wrap them tightly with aluminum foil. This keeps the pad pressed firmly to the nailbed.
It’s smart to sit in a ventilated area, since acetone has a strong smell that feels like a scene from Breaking Bad. After about 30 minutes, you’ll notice the polish flakes start lifting. Use your thumbnail or a wooden stick to gently nudge the softened gel away. If stubborn spots remain, don’t force them. Instead, re-soak and give it longer. Rushing this process risks leaving your nailbed dry and destroyed.
Non-Acetone Alternatives
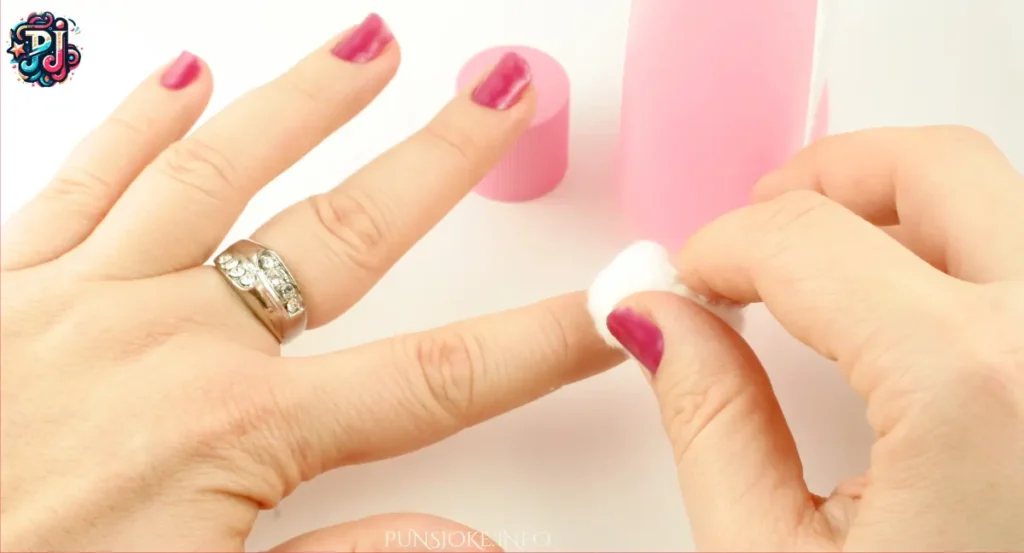
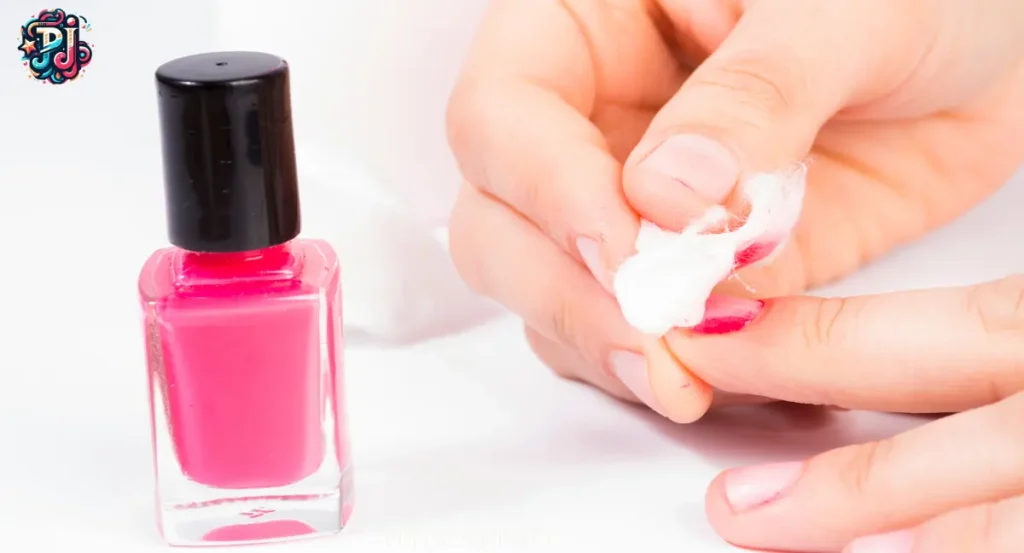
If you’d rather skip acetone, there are gentler options. Non-acetone removers won’t break down gel as speedily, but they’re kinder to cuticles and skin. You’ll need more encouragement and patience, because the process often takes longer and requires repeated applications. People with brittle nails or sensitive hands may prefer this method, even though it means more rubbing and waiting.
These alternatives usually leave behind residual polish, so you may need to buff lightly to smooth the surface. While not as strong as acetone, they still protect the illusion of healthy nails and reduce the risk of chemical dryness.
Soak-Off Clips & Pre-Made Wraps
For those who dislike fiddling with foil, soak-off clips and pre-made wraps are a lifesaver. These tools hold a soaked cotton round or pad directly on your nail, making the process more dexterous and less messy. Clips are reusable, easy to find online or in U.S. beauty stores, and they cut down removal time compared to wrapping each finger in foil.
Think of them as a shortcut that doesn’t compromise results. Instead of fighting with foil slipping off while you sip Prosecco during your DIY session, clips keep everything snug so the gel can dissolve evenly.
Buffing & Filing Techniques
Sometimes, the gel starts flaking on its own, and all you need is a sand-papery nail file or a buff block. This method works best when you’re dealing with thin layers or just a leftover shiny layer. Move the file horizontally across the nailbed, staying gentle to avoid over-scraping. If you keep filing too hard, your nails may feel destroyed, thin, and sore.
Buffing creates a smooth, matte finish, removing stubborn residual polish without harsh chemicals. But don’t overdo it. Too much filing removes natural layers, leaving nails weaker instead of stronger.
Post-Removal Nail Care
Once the gel is gone, your nails will look deconstructed, a little dry, and in need of comfort. This is where post-gel care matters. Massage in nourishing cuticle oil, use balm to soothe cuticles, and apply a rich cream for protection. Keeping hands moisturized helps restore shine.
You might also try treatments like IBX, which strengthens nails and acts as a pre-gel treatment for your next manicure. Think of it as pre-mani prep, giving nails the same fresh start as virgin hair after a good trim. With regular care, you’ll soon have gleaming, healthy nails that look even better than before.
Common Mistakes & How to Avoid Them
Many people fall into the trap of peeling gel off, especially after a long mani weekend with a hangover. While it feels satisfying in the moment, it rips layers off your natural nail and leaves them weak. Another mistake is over-buffing, which makes the nailbed thin. Leaving acetone on for too longer than 30 minutes can also dry out the finger and cuticles.
Skipping aftercare is equally harmful. Without protection, the illusion of strong nails quickly fades. Nail experts like Julie Kandalec, creative director of Paintbox salon, say that people who don’t moisturize after removal often end up with more damaged nails than those who do. She compares it to post-hair care—just like color-treated hair needs conditioner, post-gel nails need oil and balm to recover.
Conclusion
Removing gel polish at home doesn’t have to feel like rocket science. Whether you prefer the acetone soak, non-acetone removers, or simple buffing, the key is to go slowly and treat your nails with respect. The right process prevents damage and keeps your fingernail surface smooth and strong. With regular post-gel care—like nourishing cuticle oil, balm, and hydrating creams—you can maintain healthy, gleaming nails that look as good as a salon finish.
Remember, a safe removal method today saves you trouble tomorrow. Treat your nails kindly, and they’ll repay you with strength, shine, and lasting beauty.

Hi I am Kate Elise and I am the writer about most trending topics. So I hope you will enjoy to read my article.


